Deploy to S3
Now that our S3 Bucket is created we are ready to upload the assets of our app.
Build Our App
Create React App comes with a convenient way to package and prepare our app for deployment. From our working directory simply run the following command.
$ npm run build
This packages all of our assets and places them in the build/ directory.
Upload to S3
Now to deploy simply run the following command; where YOUR_S3_DEPLOY_BUCKET_NAME is the name of the S3 Bucket we created in the Create an S3 bucket chapter.
$ aws s3 sync build/ s3://YOUR_S3_DEPLOY_BUCKET_NAME
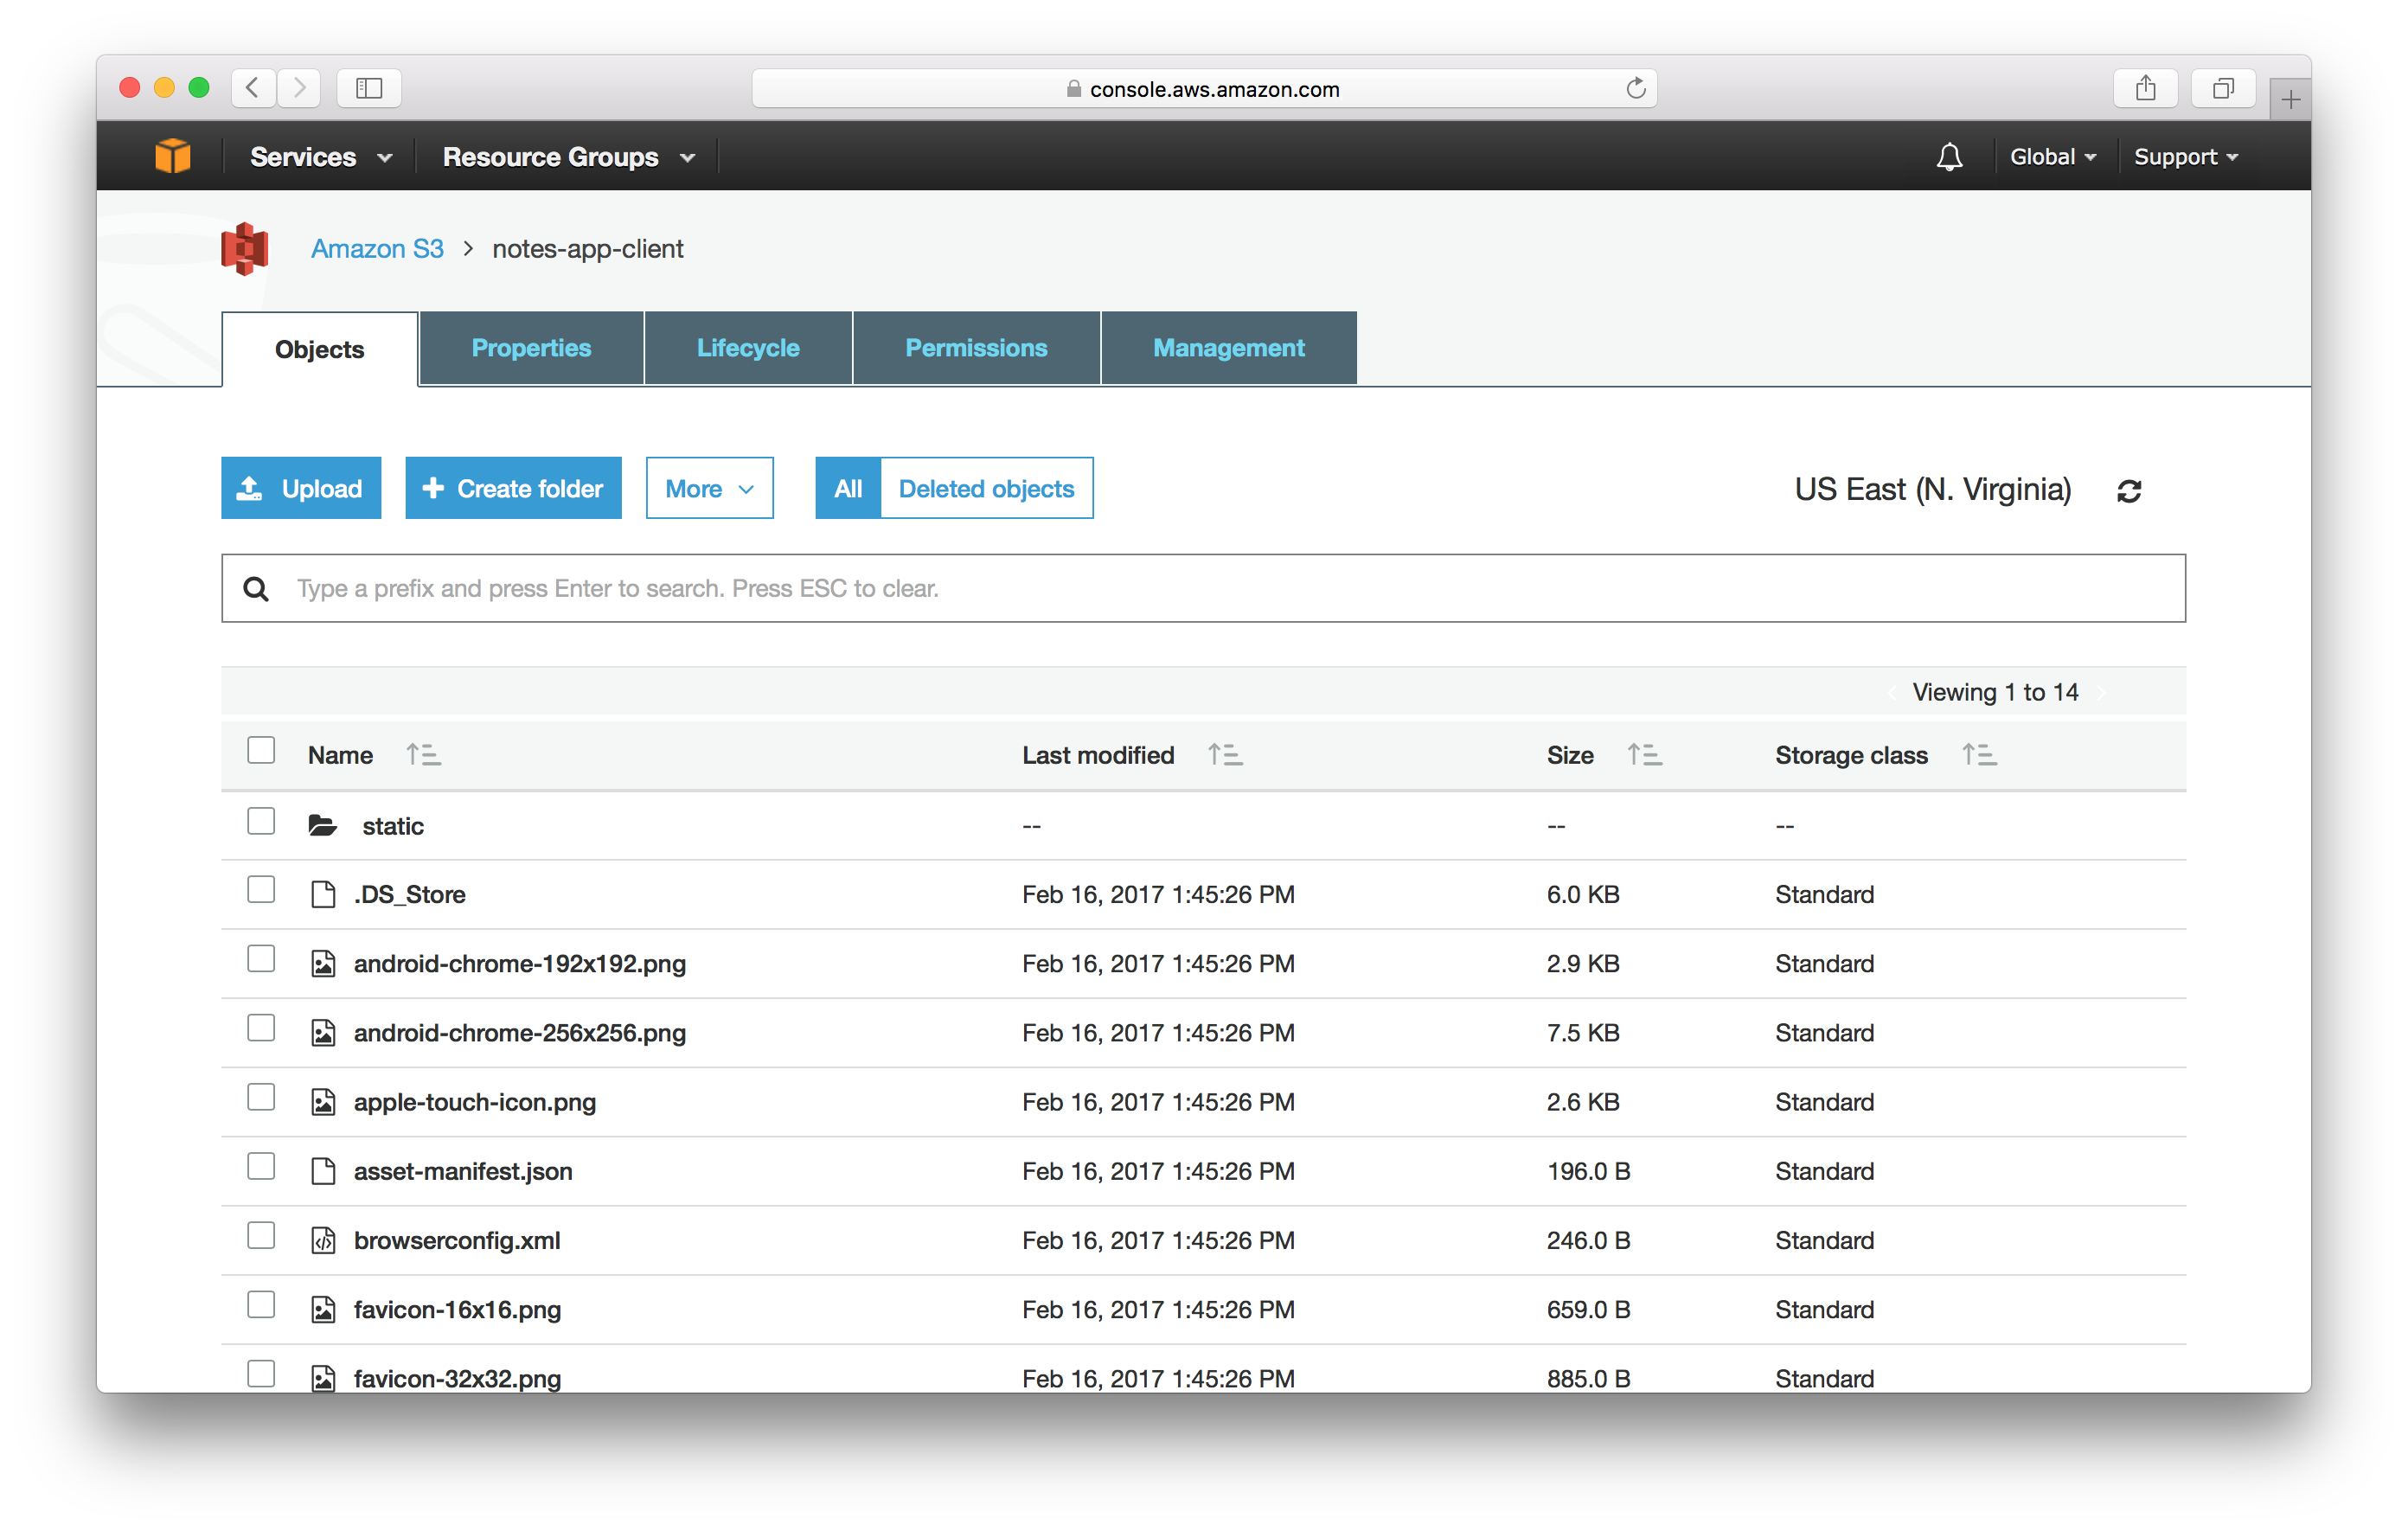
All this command does is that it syncs the build/ directory with our bucket on S3. Just as a sanity check, go into the S3 section in your AWS Console and check if your bucket has the files we just uploaded.
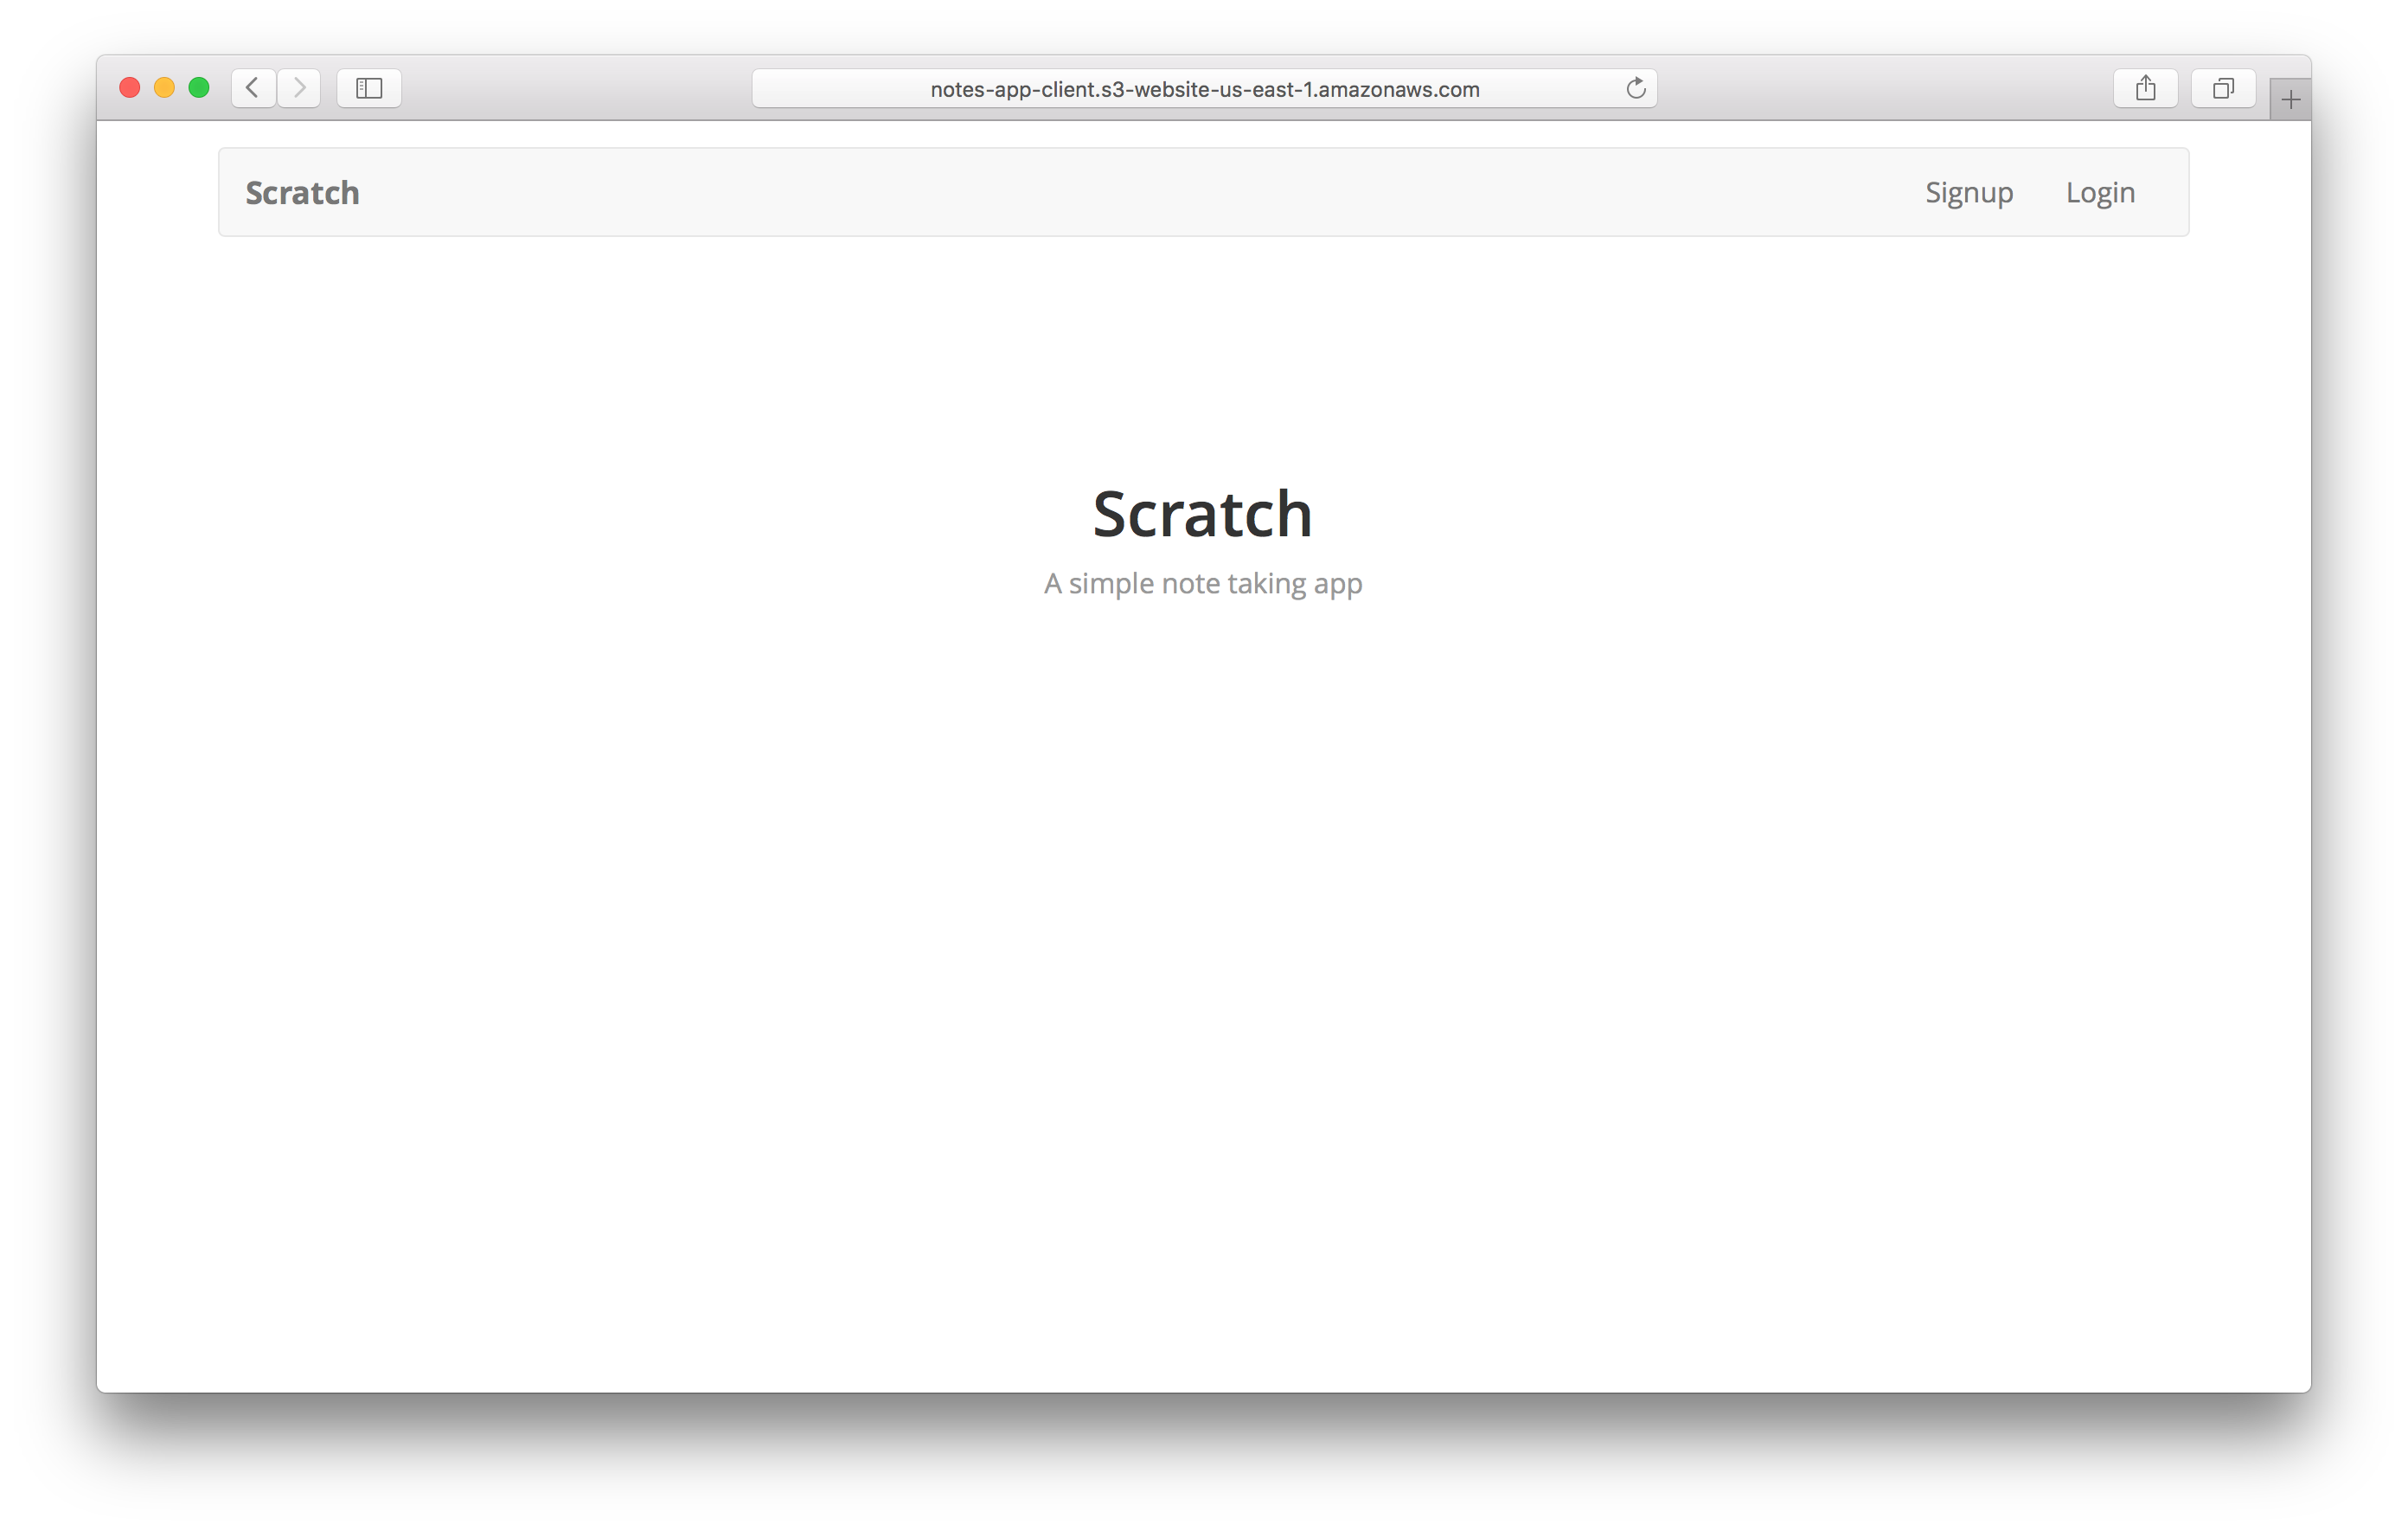
And our app should be live on S3! If you head over to the URL assigned to you (in my case it is http://notes-app-client.s3-website-us-east-1.amazonaws.com), you should see it live.
App Bundle Size
Just a quick note on the size of our frontend app. The main JS file in our app is under build/static/js/main.id.js and it is quite large because of our AWS import. One of our readers did a bit of research on this and found a simple way to almost half the size of the bundle.
This step is optional for completing the tutorial but can be helpful if you are basing your projects on it. In our src/libs/awsLib.js you can replace the import AWS from "aws-sdk"; with the following:
import AWS from 'aws-sdk/global';
import S3 from 'aws-sdk/clients/s3';
And when uploading a file to S3, replace new AWS.S3({ with new S3({ instead. You can read more about the changes here.
If you try deploying again, you should notice that your app bundle is a lot smaller.
Next we’ll configure CloudFront to serve our app out globally.

If you liked this post, please subscribe to our newsletter, give us a star on GitHub, and check out our sponsors.
For help and discussion
Comments on this chapter